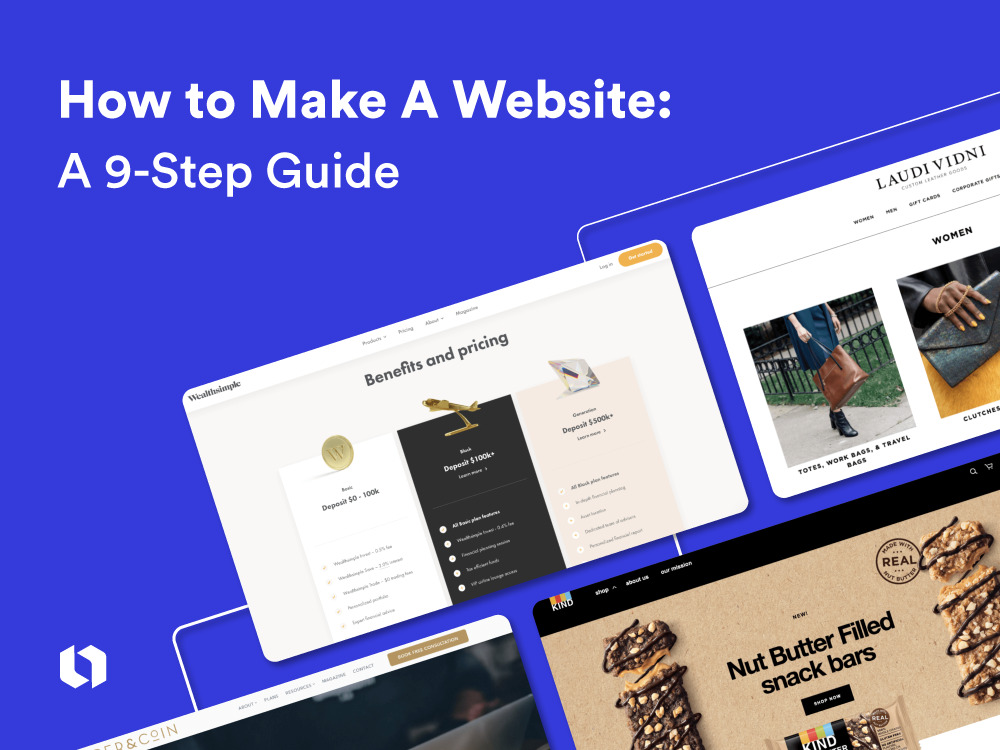
In today’s digital era, having a website is no longer optional – it’s essential. Whether you want to showcase your portfolio, start a blog, or launch an online business, creating a website is your first step toward building an online presence. The good news? You don’t need to be a tech expert to get started. This beginner-friendly guide will walk you through the process of building your very first website.

Table of Contents
Step 1: Choose Your Purpose
Before diving into design and coding, think about why you want a website. Is it for blogging, selling products, or building a personal portfolio? Defining your purpose will help you choose the right platform, layout, and features.
Step 2: Pick a Domain Name
Your domain name is your website’s unique address (e.g., www.kodecraze.com). When choosing a domain:
- Keep it short and easy to remember
- Use keywords related to your niche
- Stick with extensions like .com, .net, or .org
You can register a domain through providers like Namecheap, GoDaddy, or Google Domains.
Step 3: Select a Hosting Provider
Web hosting is where your site’s files are stored. Without it, your site won’t be accessible online. Popular hosting services include:
- Bluehost (great for beginners)
- Hostinger (affordable option)
- SiteGround (excellent performance)
Look for features like uptime reliability, speed, and customer support.
Step 4: Choose a Website Builder or CMS
There are two main ways to build a site:
- Website Builders (No-Code)
- Tools like Wix, Squarespace, or WordPress.com
- Drag-and-drop interfaces (no coding required)
- Best for beginners who want quick setup
- Content Management Systems (CMS)
- WordPress.org is the most popular CMS
- More flexibility and control
- Requires some learning but is worth it for long-term projects
Step 5: Pick a Template or Theme
Once your platform is ready, choose a theme/template that matches your site’s purpose. A clean, responsive design ensures your site looks great on desktops, tablets, and smartphones.
Pro Tip: Always prioritize user-friendly navigation and fast loading speed.
Step 6: Customize Your Website
Make your site unique by customizing:
- Logo & Branding – Use tools like Canva to design a logo
- Colors & Fonts – Stick to 2–3 colors and easy-to-read fonts
- Pages – Must-have pages include Home, About, Contact, and Blog/Services
Step 7: Add Content
Your content is what attracts and engages visitors. Focus on:
- Clear headlines that grab attention
- Engaging blog posts or service descriptions
- SEO optimization (keywords, meta tags, and alt text for images)
Remember: Content is king when it comes to building trust and ranking higher on Google.
Step 8: Test and Launch
Before publishing, test your website on different devices and browsers. Make sure all links, forms, and images work properly. Once you’re satisfied, hit publish and share your site with the world.
Step 9: Maintain and Update Regularly
A website is not a one-time project. Keep it fresh by:
- Updating content regularly
- Backing up files
- Monitoring performance with Google Analytics
Final Thoughts
Building your first website may seem overwhelming, but with the right steps, it becomes a simple and rewarding journey. From choosing a domain name to publishing your first blog post, every step brings you closer to creating your digital identity.
So, don’t wait – start today, and let your website open doors to endless opportunities in the digital world. Also check Top 10 Mobile Apps You Must Have in 2025
